


Breadcrumb
Create the Advisor Report
Initial Set Up (one time only)
This process only needs to be done once. It will save the parameters of the report.
Step 1: Go to Faculty Center
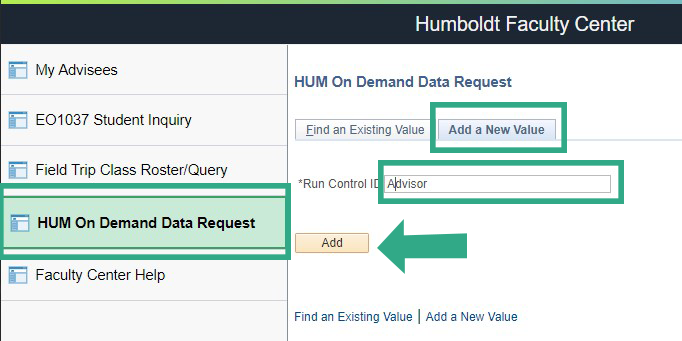
Step 2: Select HUM On Demand Data Request from the column on the left.
Step 3: Select the Add a New Value tab to create a new report.
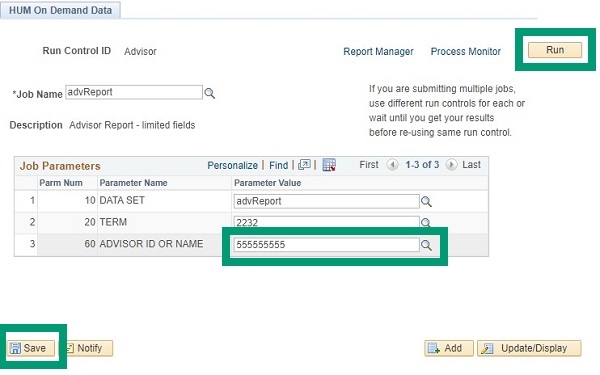
Step 4: Enter "Advisor" in the Run Control ID field.
Step 5: Click Add
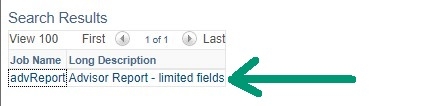
Step 6: Click on the magnifying glass next to the Job Name field.

Step 7: Select Advisor Report - limited fields
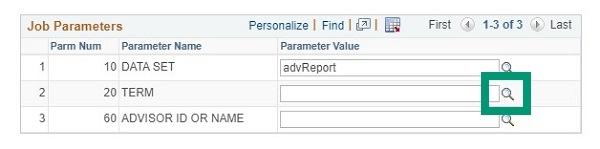
Step 8: In the Job Parameters window, click on the magnifying glass next to TERM.
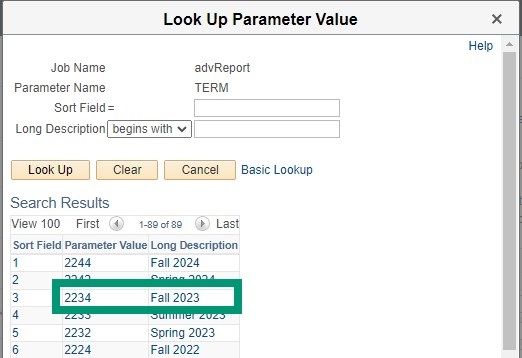
Step 9: Select the term students are registering for from the search results.
Step 10: In the Advisor ID or Name field, enter your 9-digit Humboldt ID. [Do not enter your username.]
Step 11: Click Save.
Step 12: Click Run.
Step 13: The Process Scheduler Request window will open, select OK to finalize the process.
You will receive an Excel spreadsheet via email from anstud@humboldt.edu. The last column in the spreadsheet will show if the student has an advising hold. Data in the spreadsheet is from the previous day.